Getting started with Hangfire on ASP.NET Core and PostgreSQL on Docker
- ASP.NET Core
- PostgreSQL
- Hangfire
Introduction
Hangfire simplifies performing fire-and-forget, delayed, and recurring tasks within ASP.NET applications. It eliminates the need for Windows Services or separate processes and is backed by persistent storage. Best of all, it's open and free for commercial use.
Use cases
There are a number of use cases when you need to perform background processing in a web application:
- mass notifications/newsletter
- batch import from xml, csv, json
- creation of archives
- firing off web hooks
- deleting users
- building different graphs
- image/video processing
- purge temporary files
- recurring automated reports
- database maintenance
and counting..
In this post, we are about to create new ASP.NET Core MVC application, with configured database, then install and configure Hangfire to run in the background for us. So let`s get started!
Setup PostgreSQL database
There are more than one way to setup PostgreSQL database. I’m about to use Docker for the purpose, but you can install it directly from the Postgresql official website.
If you choose do download and install PostgreSQL, skip the following Docker commands. Instead configure you db instance
with the parameters from the Docker example.
Otherwise we need Docker installed and running. Lets proceed with pulling the image for PostgreSQL. Open terminal and
run:
$ docker pull postgresql
Once we have the image, let's create a container from it and provide username and password for the database:
$ docker run -d -p 5432:5432 -e POSTGRES_USER=postgres -e POSTGRES_PASSWORD=postgres
After this our database should be up and running.
Create ASP.NET Core MVC project
Let`s create new MVC project and configure it to use our database.
Create new folder and enter it:
$ mkdir aspnet-psql-hangfire && cd aspnet-psql-hangfire
When creating new project, you can go with whatever you want from the list of available dotnet project templates. I'll
stick to MVC.
$ dotnet new mvc
Next install Nuget package for PostgreSQL Entity Framework driver:
$ dotnet add package Npgsql.EntityFrameworkCore.PostgreSQL
Add empty dbcontext:
using Microsoft.EntityFrameworkCore;

namespace aspnet_psql_hangfire.Models
{
    public class DefaultDbContext : DbContext
    {
        public DefaultDbContext(DbContextOptions<DefaultDbContext> options)
            : base(options) { }
    }
}
Restore the packages by running:
$ dotnet restore
Edit appsettings.json and enter the connection string:
{
    "connectionStrings": {
        "defaultConnection":
            "Host=localhost;
            Port=5433;
            Username=postgres;
            Password=postgres;
            Database=aspnet-psql-hangfire-db"
    },
    "Logging": {
        "LogLevel": {
            "Default": "Warning"
        }
    },
    "AllowedHosts": "*"
}
The framework must know that we want to use PostgreSQL database so add the driver to your Startup.cs file within the
ConfigureServices method:
services.AddEntityFrameworkNpgsql().AddDbContext<DefaultDbContext>(options => {
    options.UseNpgsql(Configuration.GetConnectionString("defaultConnection"));
});
We are ready for a initial migration:
$ dotnet ef migrations add InitContext && dotnet ef database update
Install Hangfire
Let’s continue with final steps — install packages for Hangfire:
$ dotnet add package Hangfire.AspNetCore && dotnet add package Hangfire.Postgresql
Add the following using statement to the Startup.cs:
using Hangfire;
using Hangfire.PostgreSql;
Again in the ConfigureServices method in the Startup.cs, let Hangfire server to use our default connection string:
services.AddHangfire(x =>
    x.UsePostgreSqlStorage(Configuration.GetConnectionString("defaultConnection")));
Again in Startup.cs, but now in Configure method enter:
app.UseHangfireDashboard(); //Will be available under http://localhost:5000/hangfire"
app.UseHangfireServer();
Then restore again the packages by typing:
$ dotnet restore
Create tasks
In the Configure method, below the app.UseHangFireServier() add the following tasks:
//Fire-and-Forget
BackgroundJob.Enqueue(() => Console.WriteLine("Fire-and-forget"));

//Delayed
BackgroundJob.Schedule(() => Console.WriteLine("Delayed"), TimeSpan.FromDays(1));

//Recurring
RecurringJob.AddOrUpdate(() => Console.WriteLine("Minutely Job"), Cron.Minutely);

//Continuation
var id = BackgroundJob.Enqueue(() => Console.WriteLine("Hello, "));
BackgroundJob.ContinueWith(id, () => Console.WriteLine("world!"));
And finally run the app:
$ dotnet run
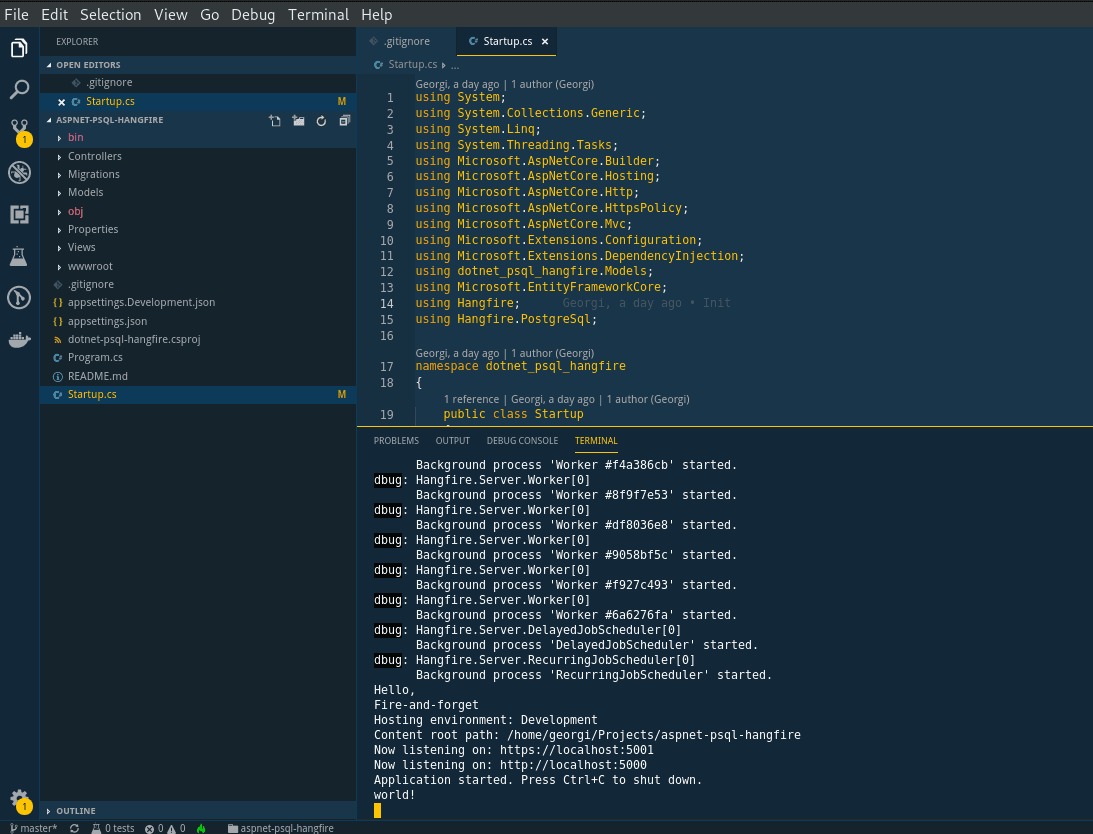
Observe tasks logging to the console:

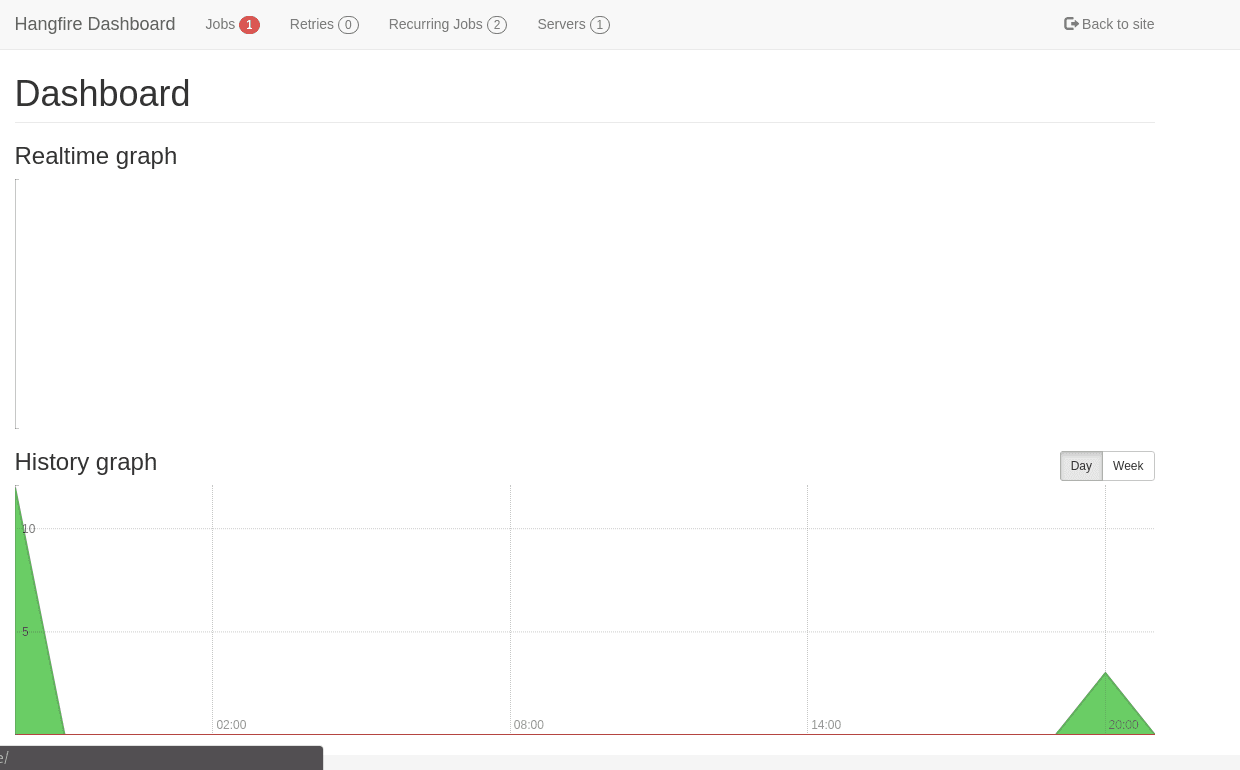
Now go to the dashboard provided by Hangfire at http://localhost:5000/hangfire for more task info.

Summary
Keep in mind that the dashboard is only available for localhost connections. If you would like to use it in production, you have to apply authentication methods. There are plenty of tutorials describing how to do that.
Here is the repo from the project, I hope you liked it. Happy coding!